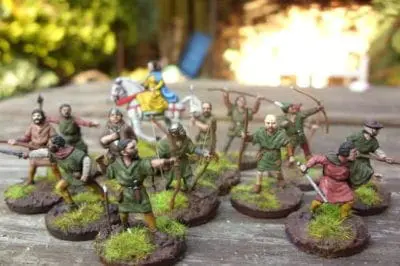
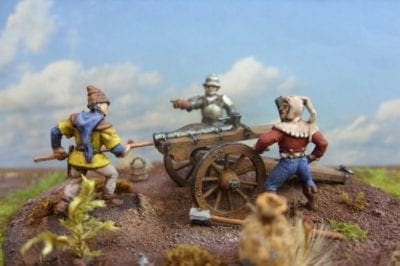
They are available in Sets like Miniart’s French Foot Soldiers with Rams or Zvezda’s French Infantry of the Hundred Years War..but they come unpainted, there´s too few of them, and I’m too lazy to spend hours straining my eyes to paint them ( they wouldn’t turn out well anyway ).
So..I came up with this;
1. First up..tools etc. wood-glue (not in pic) Scissors, sharp-blade, cocktail stick, Thin cardboard, wood-grain and shield pattern printouts. The wood-grain and shield patterns I got of the web..and re-sized…there are tons of them about but look out for copyright.

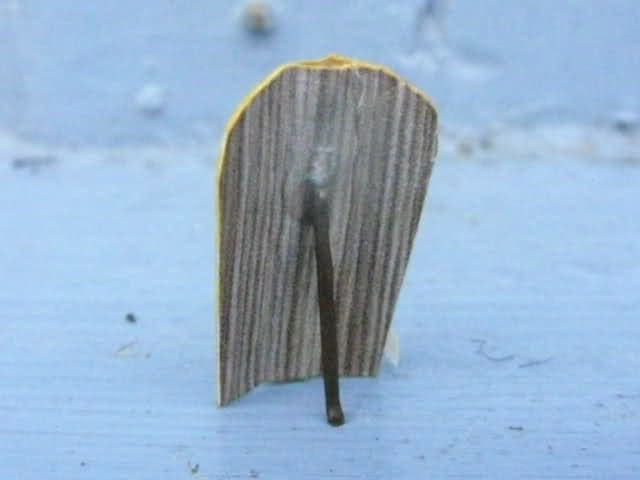
2. Slice the cocktail-stick in half (lengthways) and place on the glue smeared cardboard surface. It´s best to leave a bit of the cocktail-stick sticking out as you´ll see later.
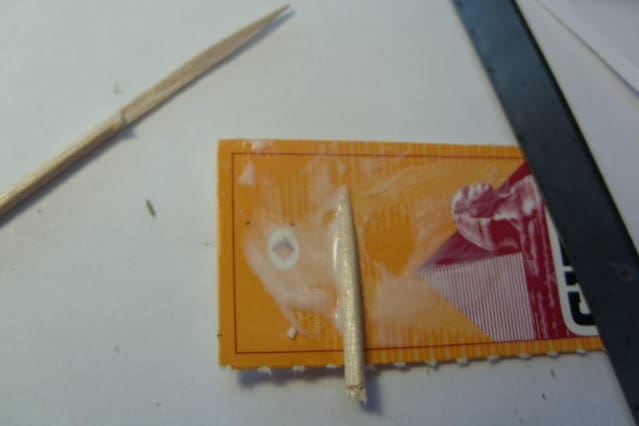
3. Cut the shield pattern out leaving a decent edge all around and place as near as possible with the center of the shield over the cocktail-stick, which will form the central rib. You have to make sure that about half a cm at the top of the shield is stuck just to the cardboard. The little bit of the cocktail stick that is poking out the bottom can be used to align or push/pull the rib into position. Using your finger nails, push the paper pattern firmly onto the rib and the backing. Turn the whole thing over and apply the wood-grain pattern , making sure that the grain is properly aligned. You can check this by holding the shield up to the light.
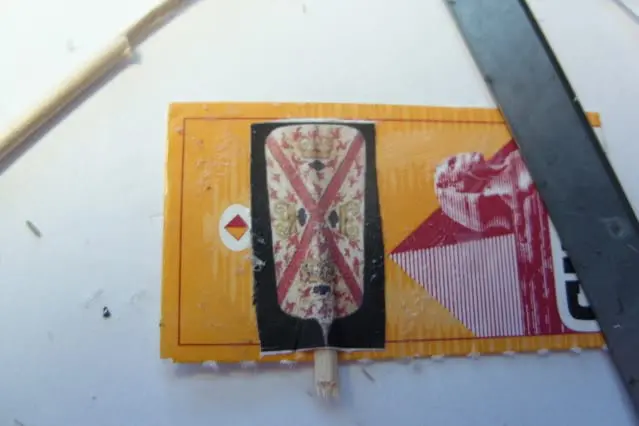
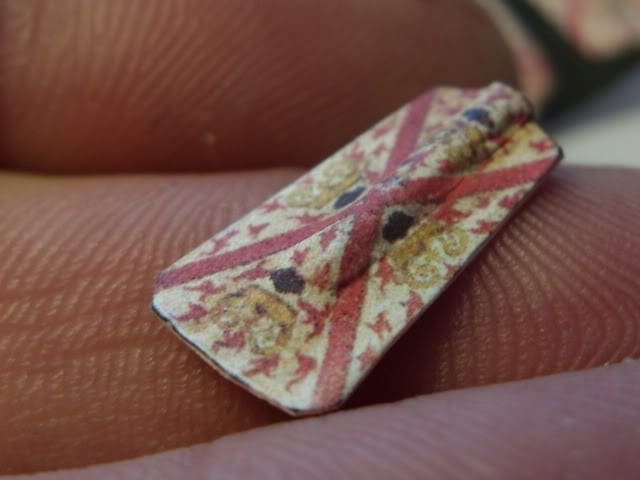
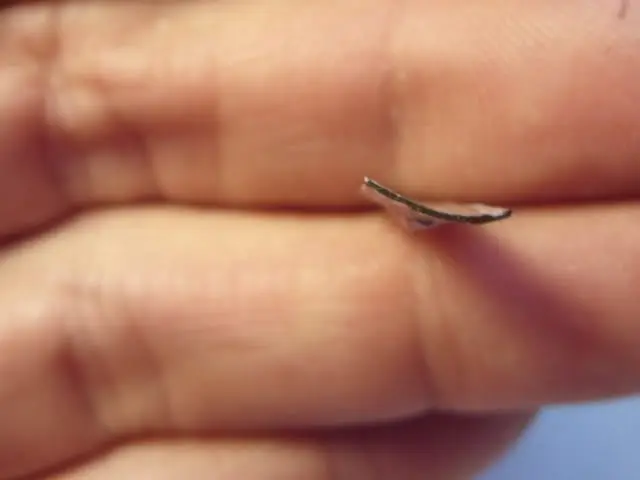
4. Let everything dry and cut out. I´ve found, that to remove the sticking out bit of cocktail stick it´s best to use a sharp blade. The shield now looks like this;
5. With the edge of the nib from a marker ( I forgot to put it in the top pic!!! 😀 ) colour in the edges. I´ve used brown, but red would look nice as well 😀 (I certainly won´t get any work as a “Hand model” :-D)
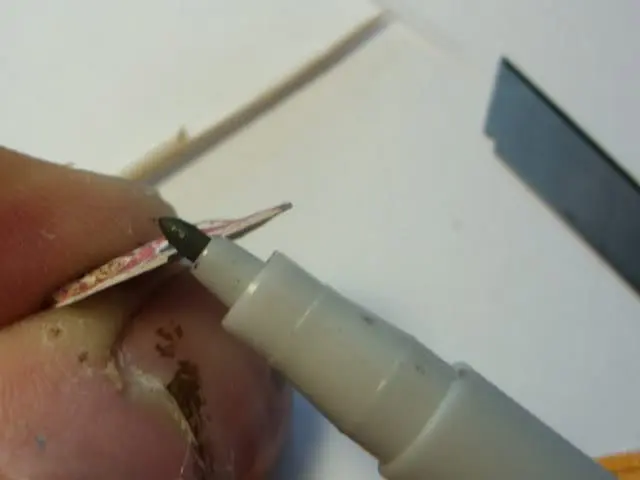
6. Lay the shield along the marker pen and with your thumb press down. This gives the shield it´s final curved shape.
7. A stand can be made using a paper staple. Simply make a hole up behind the paper on the back of the Pavise, insert the staple (with a bit of PVA) glue) let it dry, bend it to the angle required and cut to length.
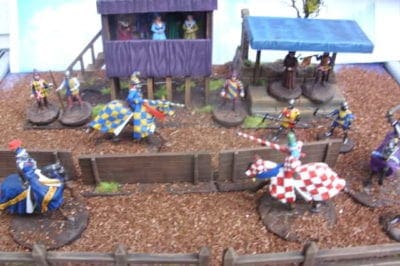
I hope this little how to is useful and obviously this can be used for making 28mm Pavise and probably would allow a lot more detail.

1 Comment
Nice idea!!!
How i can find the shield designs?